Planning your own trip? Prepare for your trip
Use Rough Guides' trusted partners for great rates
Book your individual trip, stress-free with local travel experts
Once the sun has gone down and as the evening slips into night, it can be a magical time to take pictures, wherever you are in the world. But night photography can also be notoriously difficult. Here are 10 tips for night photography to help you capture those night skies.
The first rule of night photography is to turn off your flash in the camera’s settings. It might sound counter-intuitive, but nine times out of ten, adding stark white light to your scene isn’t going to enhance it.

Theyyam ritual in Northern Kerala captured without a flash ©
Diana Jarvis
The hour or so after sunset is known as twilight or the blue hour. It’s the time of day when the light hasn’t quite disappeared and the sky takes on a whole array of indigo hues. You also get a similar light in the morning just before sunrise.
‘Hour’ is not really accurate, because it depends on the time of year and the latitude you’re at. In the summer, when the far northern or southern hemispheres hardly get dark at all, the night can consist solely of the blue hour. Conversely, nearer the equator, the sun can seem like it just plops behind the horizon and is immediately followed by intense darkness.

Whitby Abbey captured during 'Blue Hour' ©
Diana Jarvis
If you have a bridge camera or DSLR, you can easily take control of how the camera uses the available light by getting familiar with Aperture Priority, Shutter Priority or by going fully Manual. You should also become familiar with altering the ISO.
The settings you need to balance between for capturing scenes well at night are ISO and shutter speed. The ISO relates to how the light intensity is captured on the camera’s sensor. A higher ISO will allow you to take an image in low light with a shorter shutter speed but it will look very grainy. A long exposure will allow more light on to the sensor but is useless if you don’t keep the camera still – or if the scene is moving. On a DSLR, it’s worth learning how to go fully Manual for good night photography.
For point-and-shoot cameras, take a look at the various programmes your camera offers; you might find that the ‘sport’ setting has been programmed to capture fast movement at the expense of the graininess. This could work well for festivals, carnivals or firework shows. The 'landscape' mode could be programmed to preserve the ISO and take longer exposures.

Florence skyline at night ©
Diana Jarvis
Will you want a long exposure or a fast exposure? This really comes down to what kind of image you’re looking for. For example, if you want light trails from cars whizzing past, you will need to use a long exposure. For capturing people in the dark, you’ll need something a bit faster.
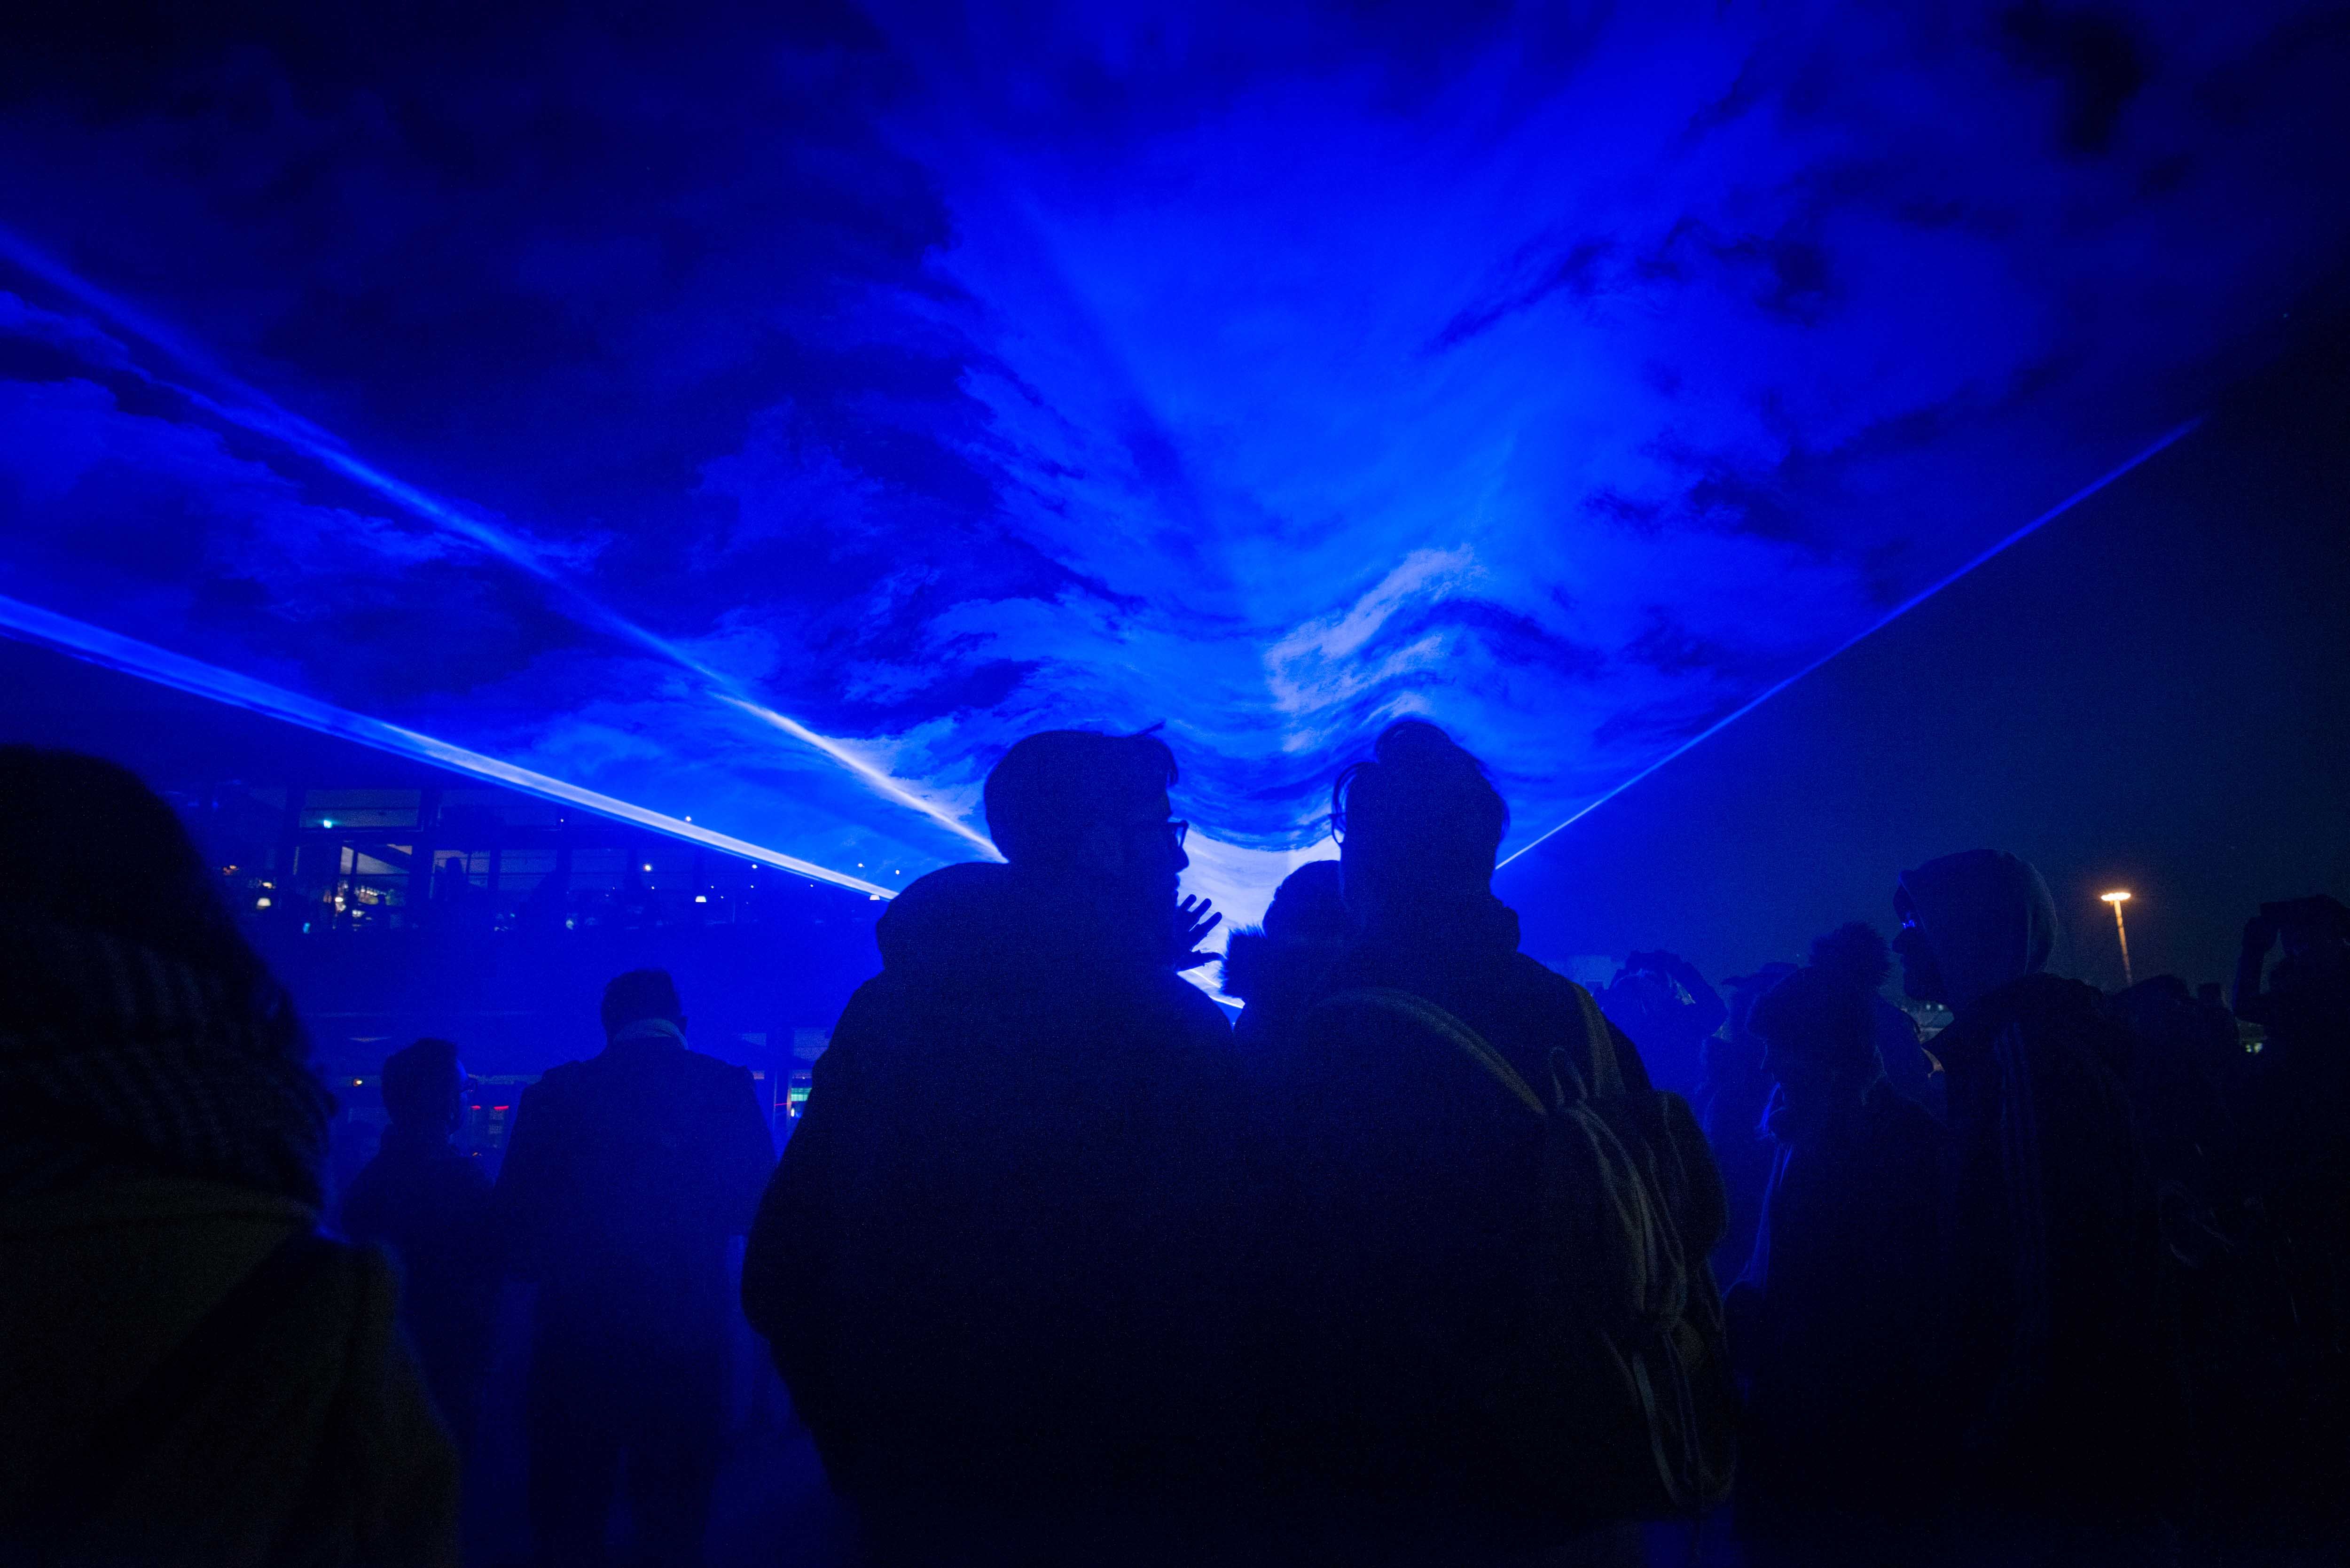
Daan Roosegarde’s art installation Waterlicht at King’s Cross, London 2018 ©
Diana Jarvis
For long exposures, you need to keep your camera as still as possible and best way to do this is with a tripod. They come in an array of sizes and weights and, of course, for travel photography you want something as lightweight and compact as possible. A gorilla grip is the ideal size to keep in your backpack all day but might struggle to hold larger SLRs in place. Alternatively, carbon fibre tripods are lightweight and can cope with the weight of larger cameras, making them a great option for travel photographers.
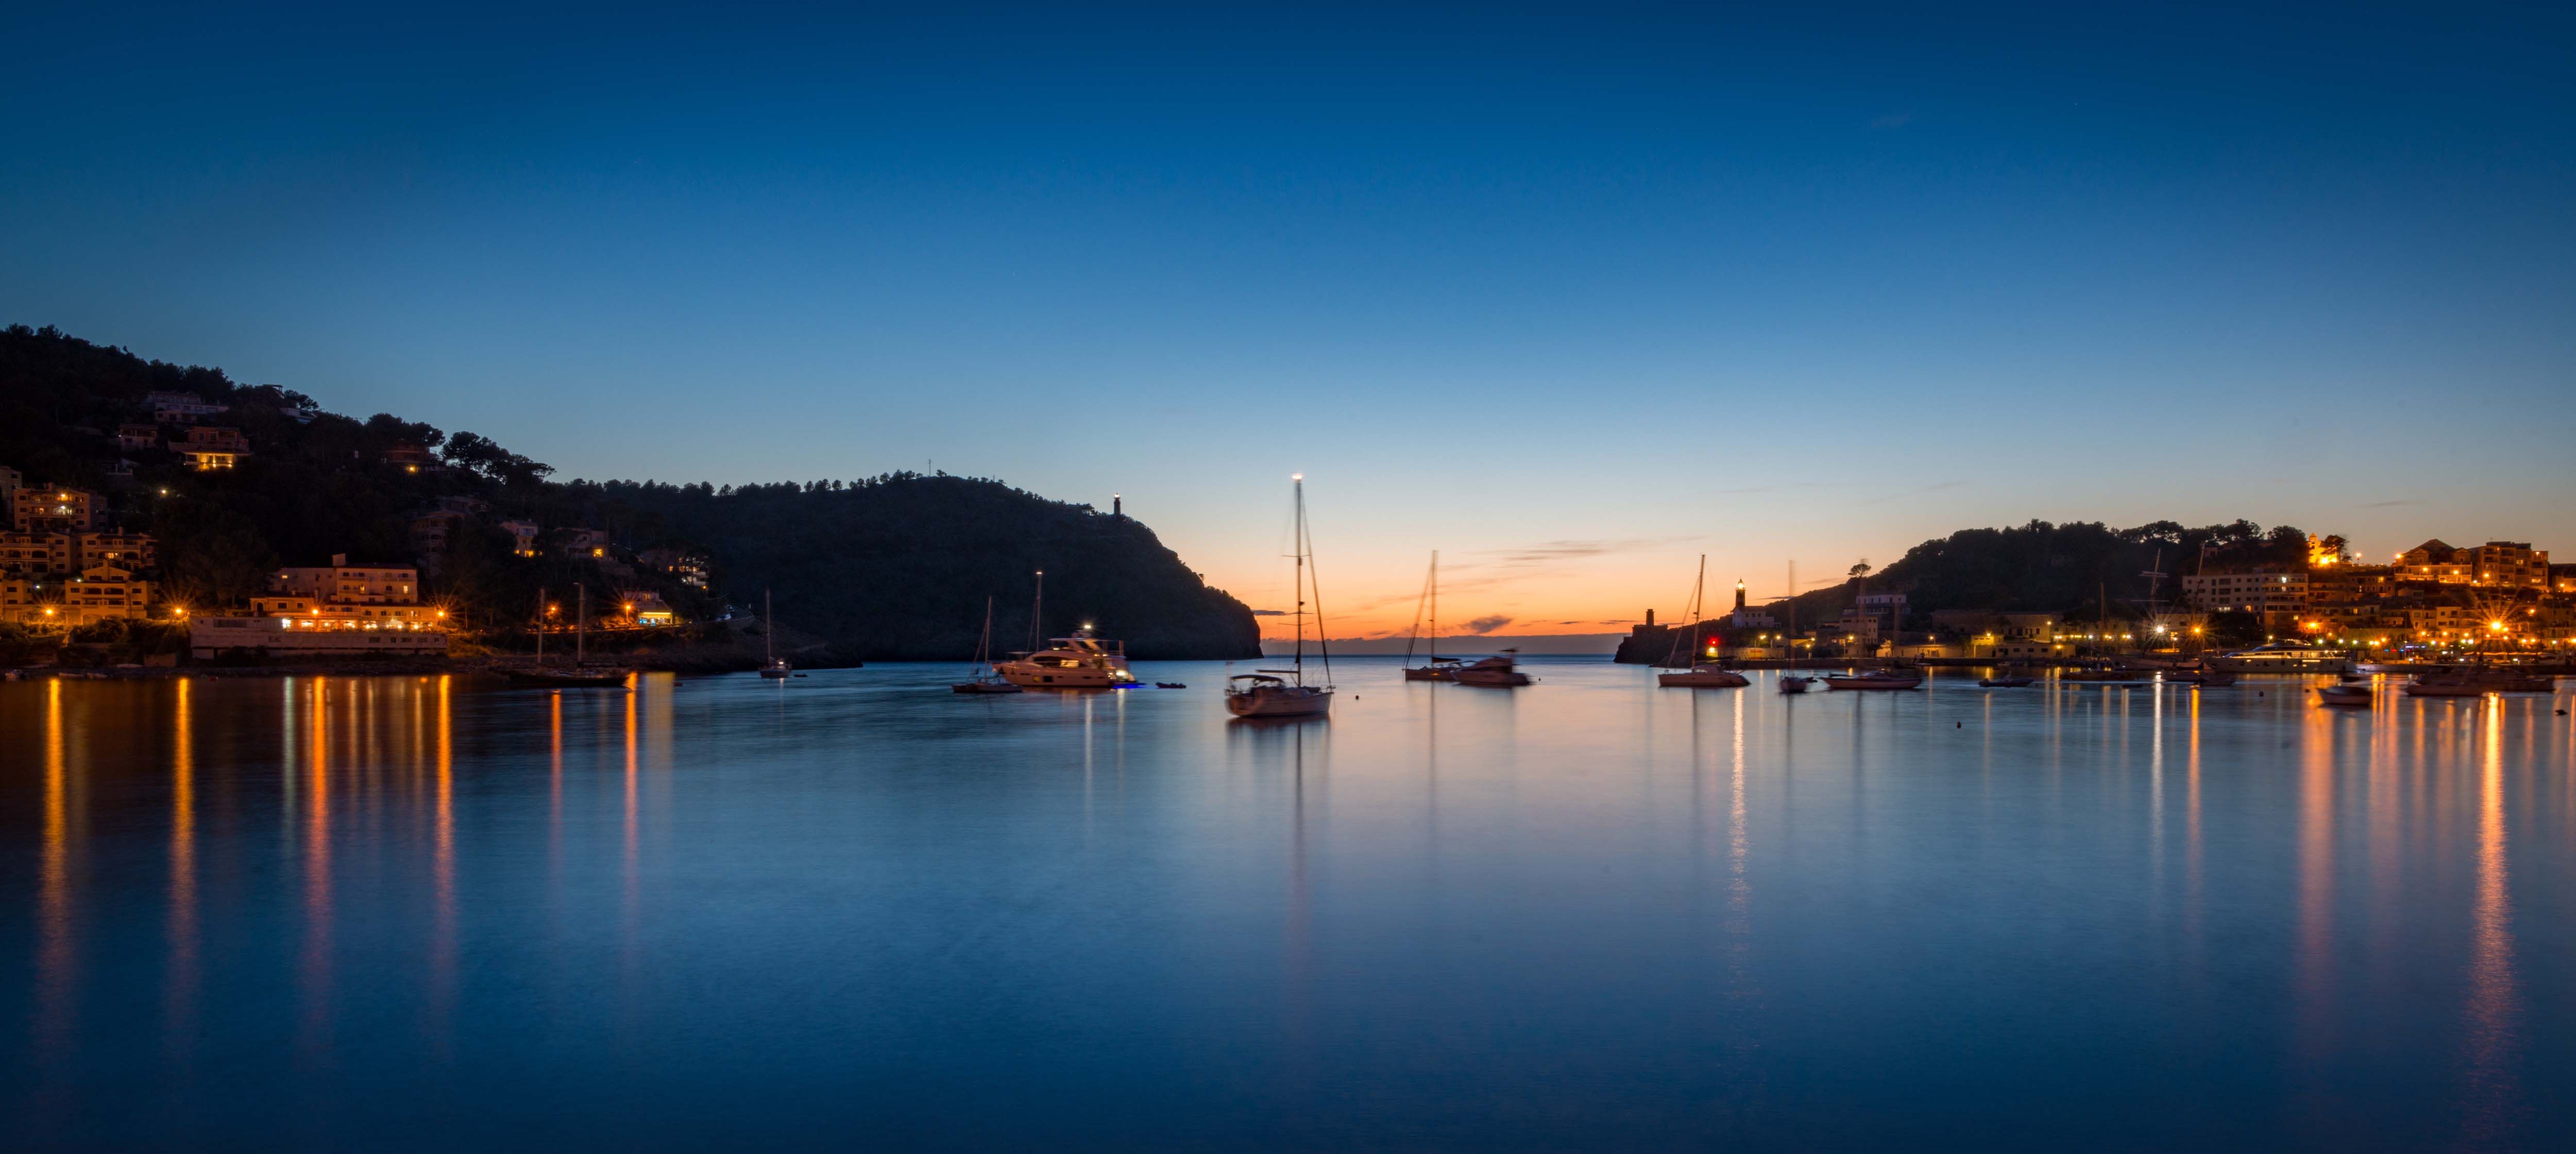
Porto Soller in Mallorca ©
Diana Jarvis
If you don’t want to splash out on a tripod, you can always improvise and find a flat surface to rest the camera on – bins, benches and railings all make good bets. As you’re more than likely to have your hands on the camera body while shooting like this, another technique you might want to try is known as sniper breathing. As you might guess from the name, it's something that sniper shooters follow in order to not miss their targets. The principle is that you manage the intake and outage of breath for the duration of the shot so that no extra shake or movement is incurred.
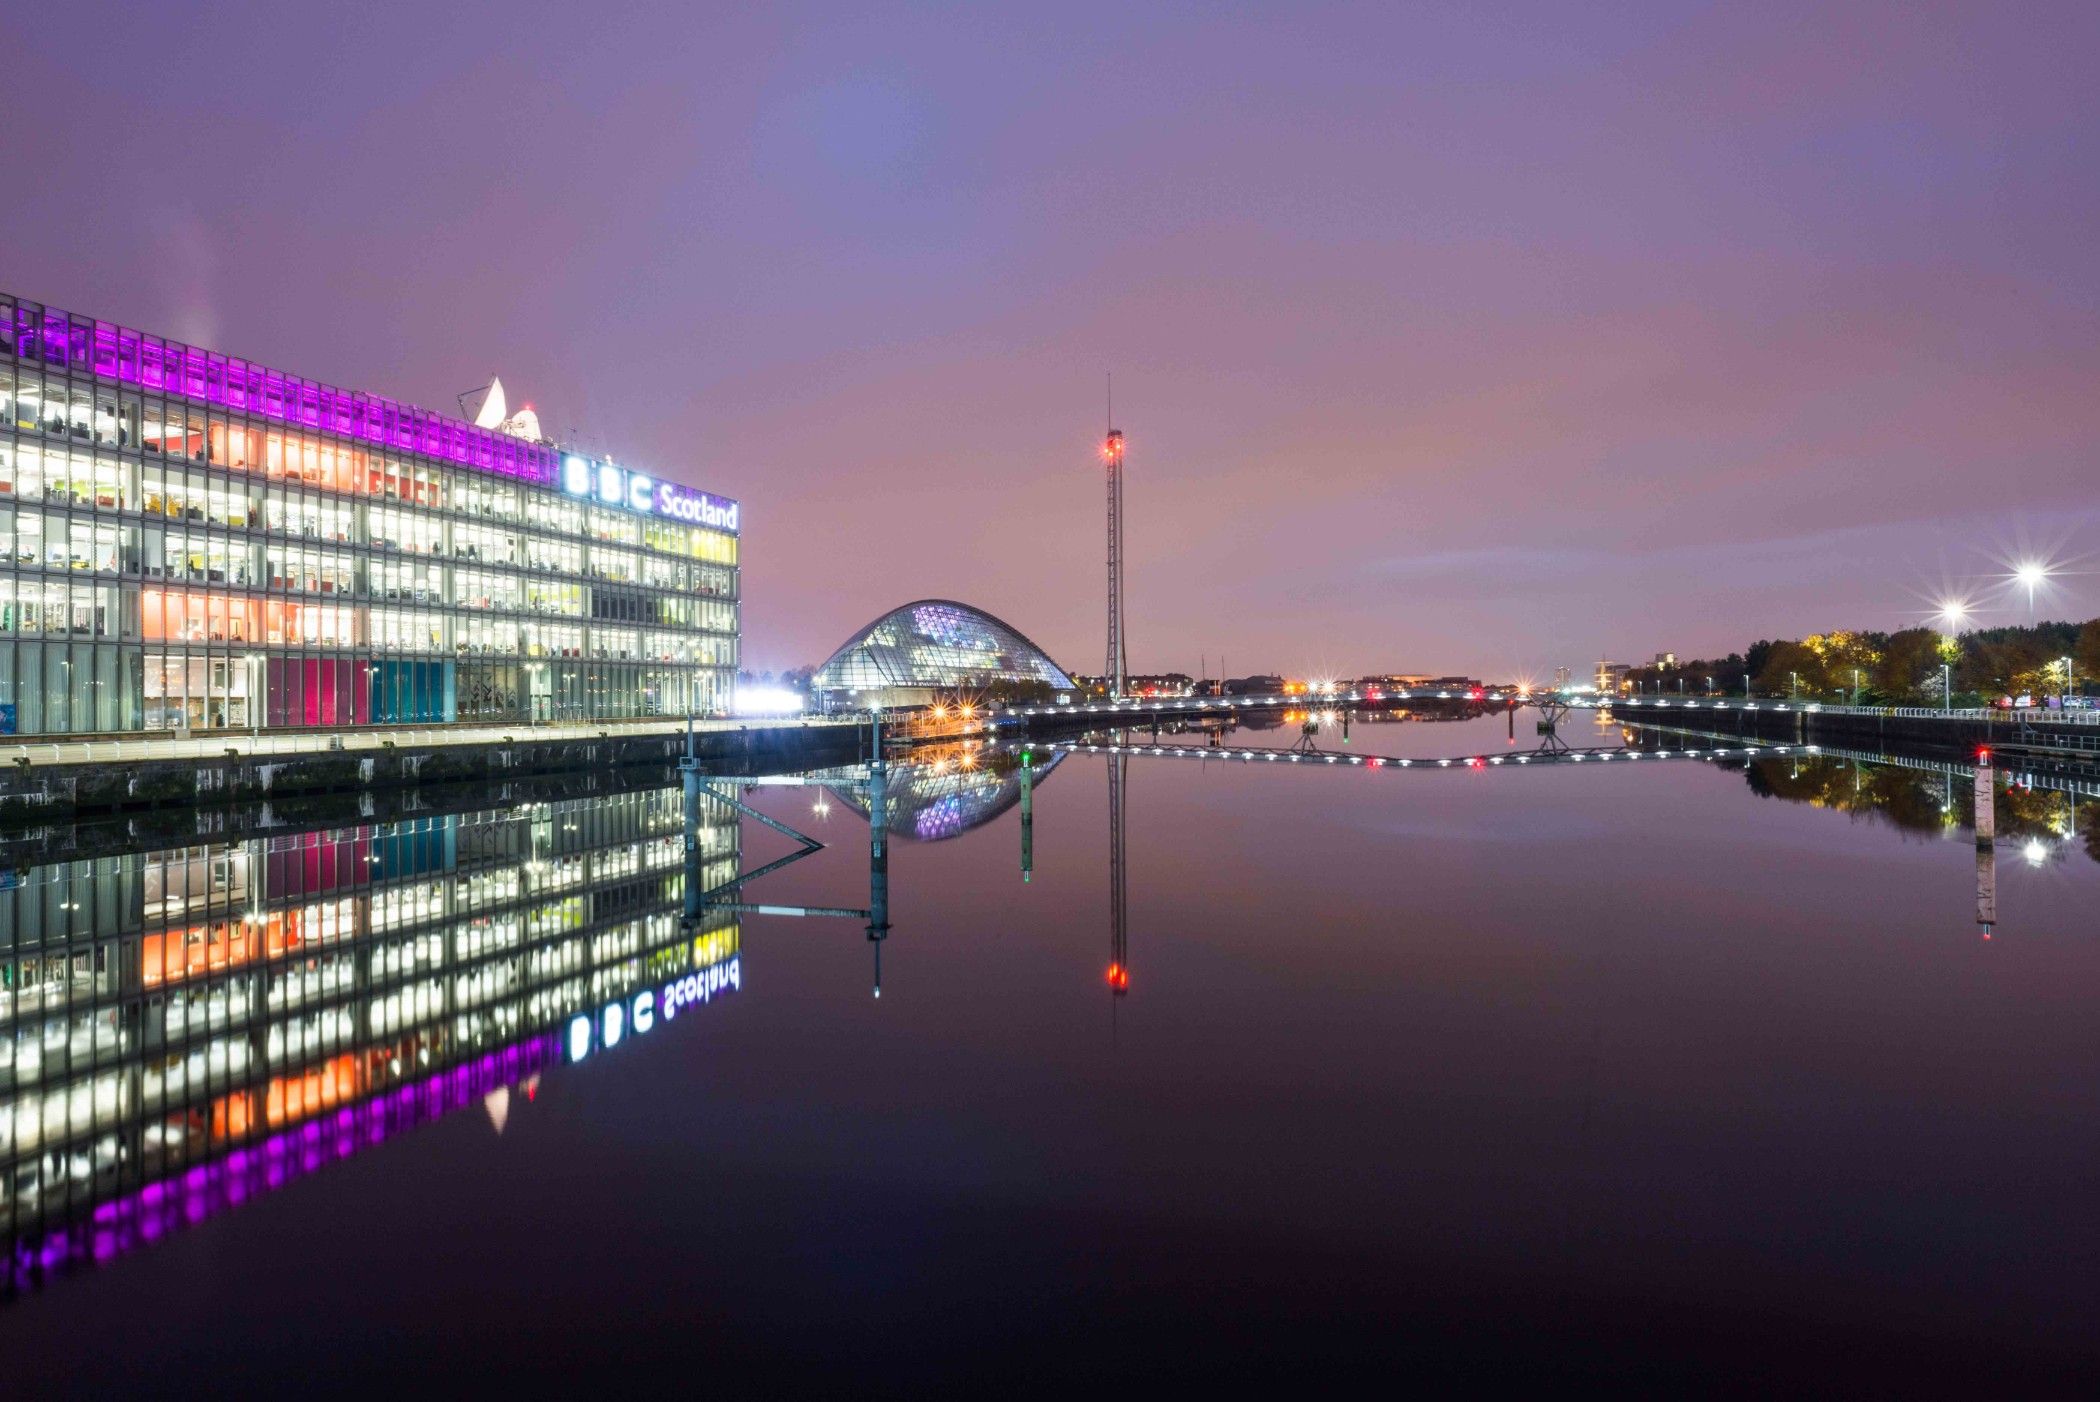
The BBC Scotland building in Glasgow shot from Bell’s Bridge ©
Diana Jarvis
Take a look at how fast the traffic is travelling. You want to avoid lights stopping abruptly midway through the image so look for fast-flowing traffic or conditions whereby the shutter can stay open for as long as it takes for several vehicles to move through the composition from one end to the other. Bridges can be a good vantage point but avoid places where the roaring traffic will cause vibrations.
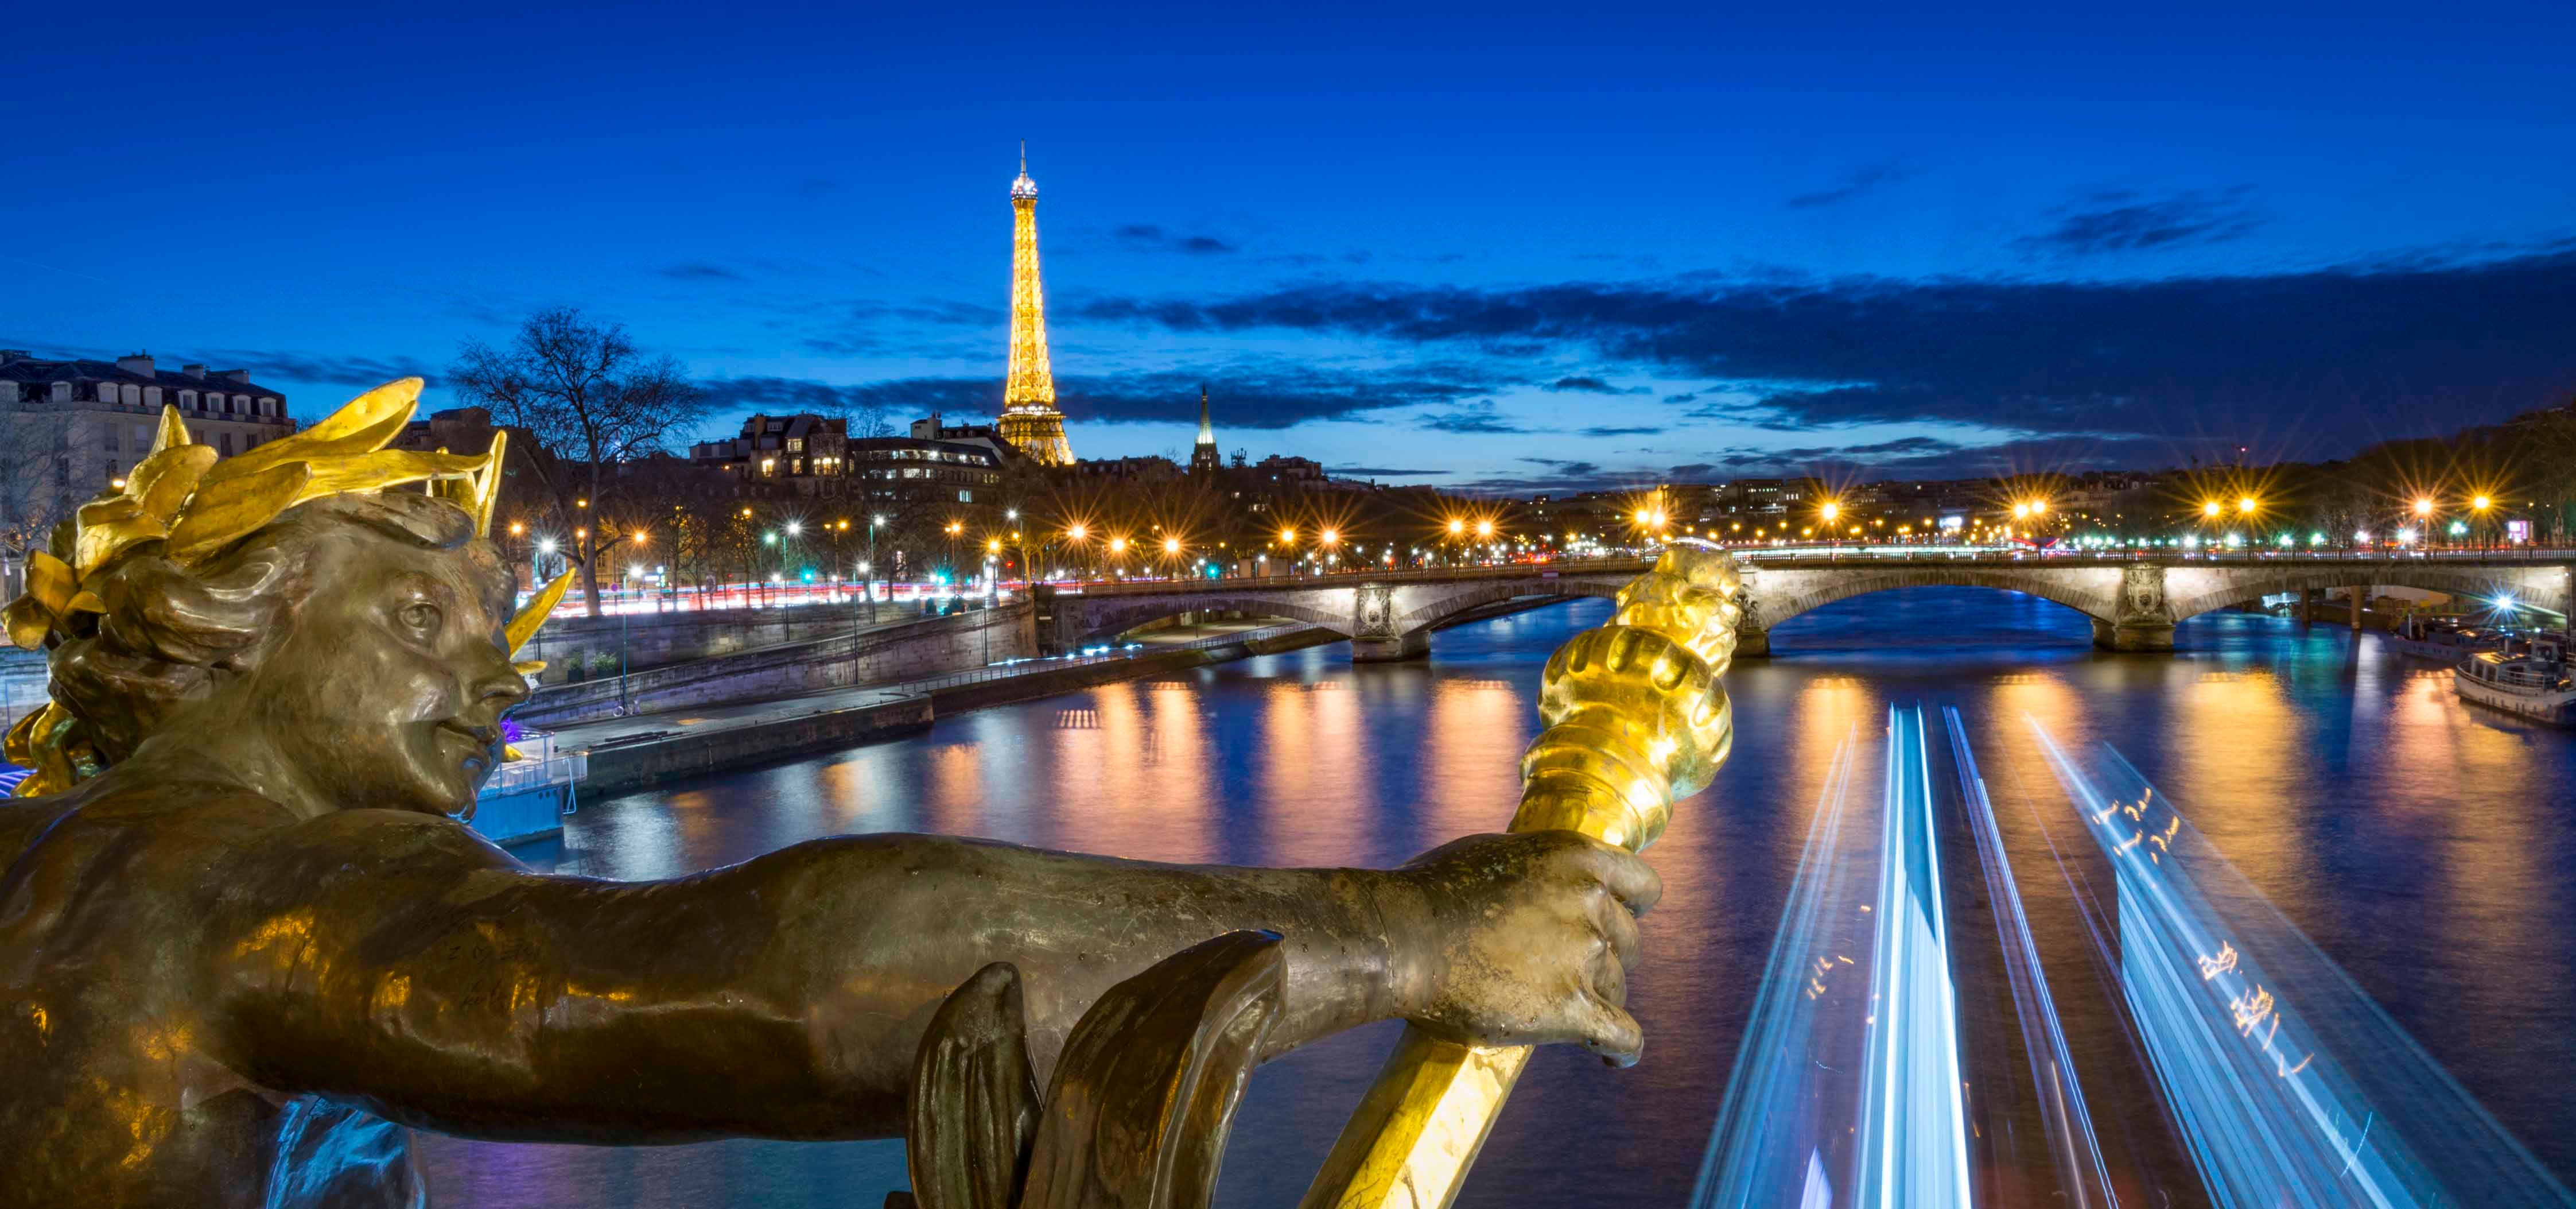
The Seine from Pont Alexandre III in Paris ©
Diana Jarvis
When the weather is offering grey skies and rain, why not add some colour by shooting at night? Wet concrete surfaces become shiny and city lights dazzle in night photography. Be careful not to get your camera too wet. It’s also worth collecting those little silica gel packets that come with many newly bought items – keep a few of these in your camera bag to soak up moisture.
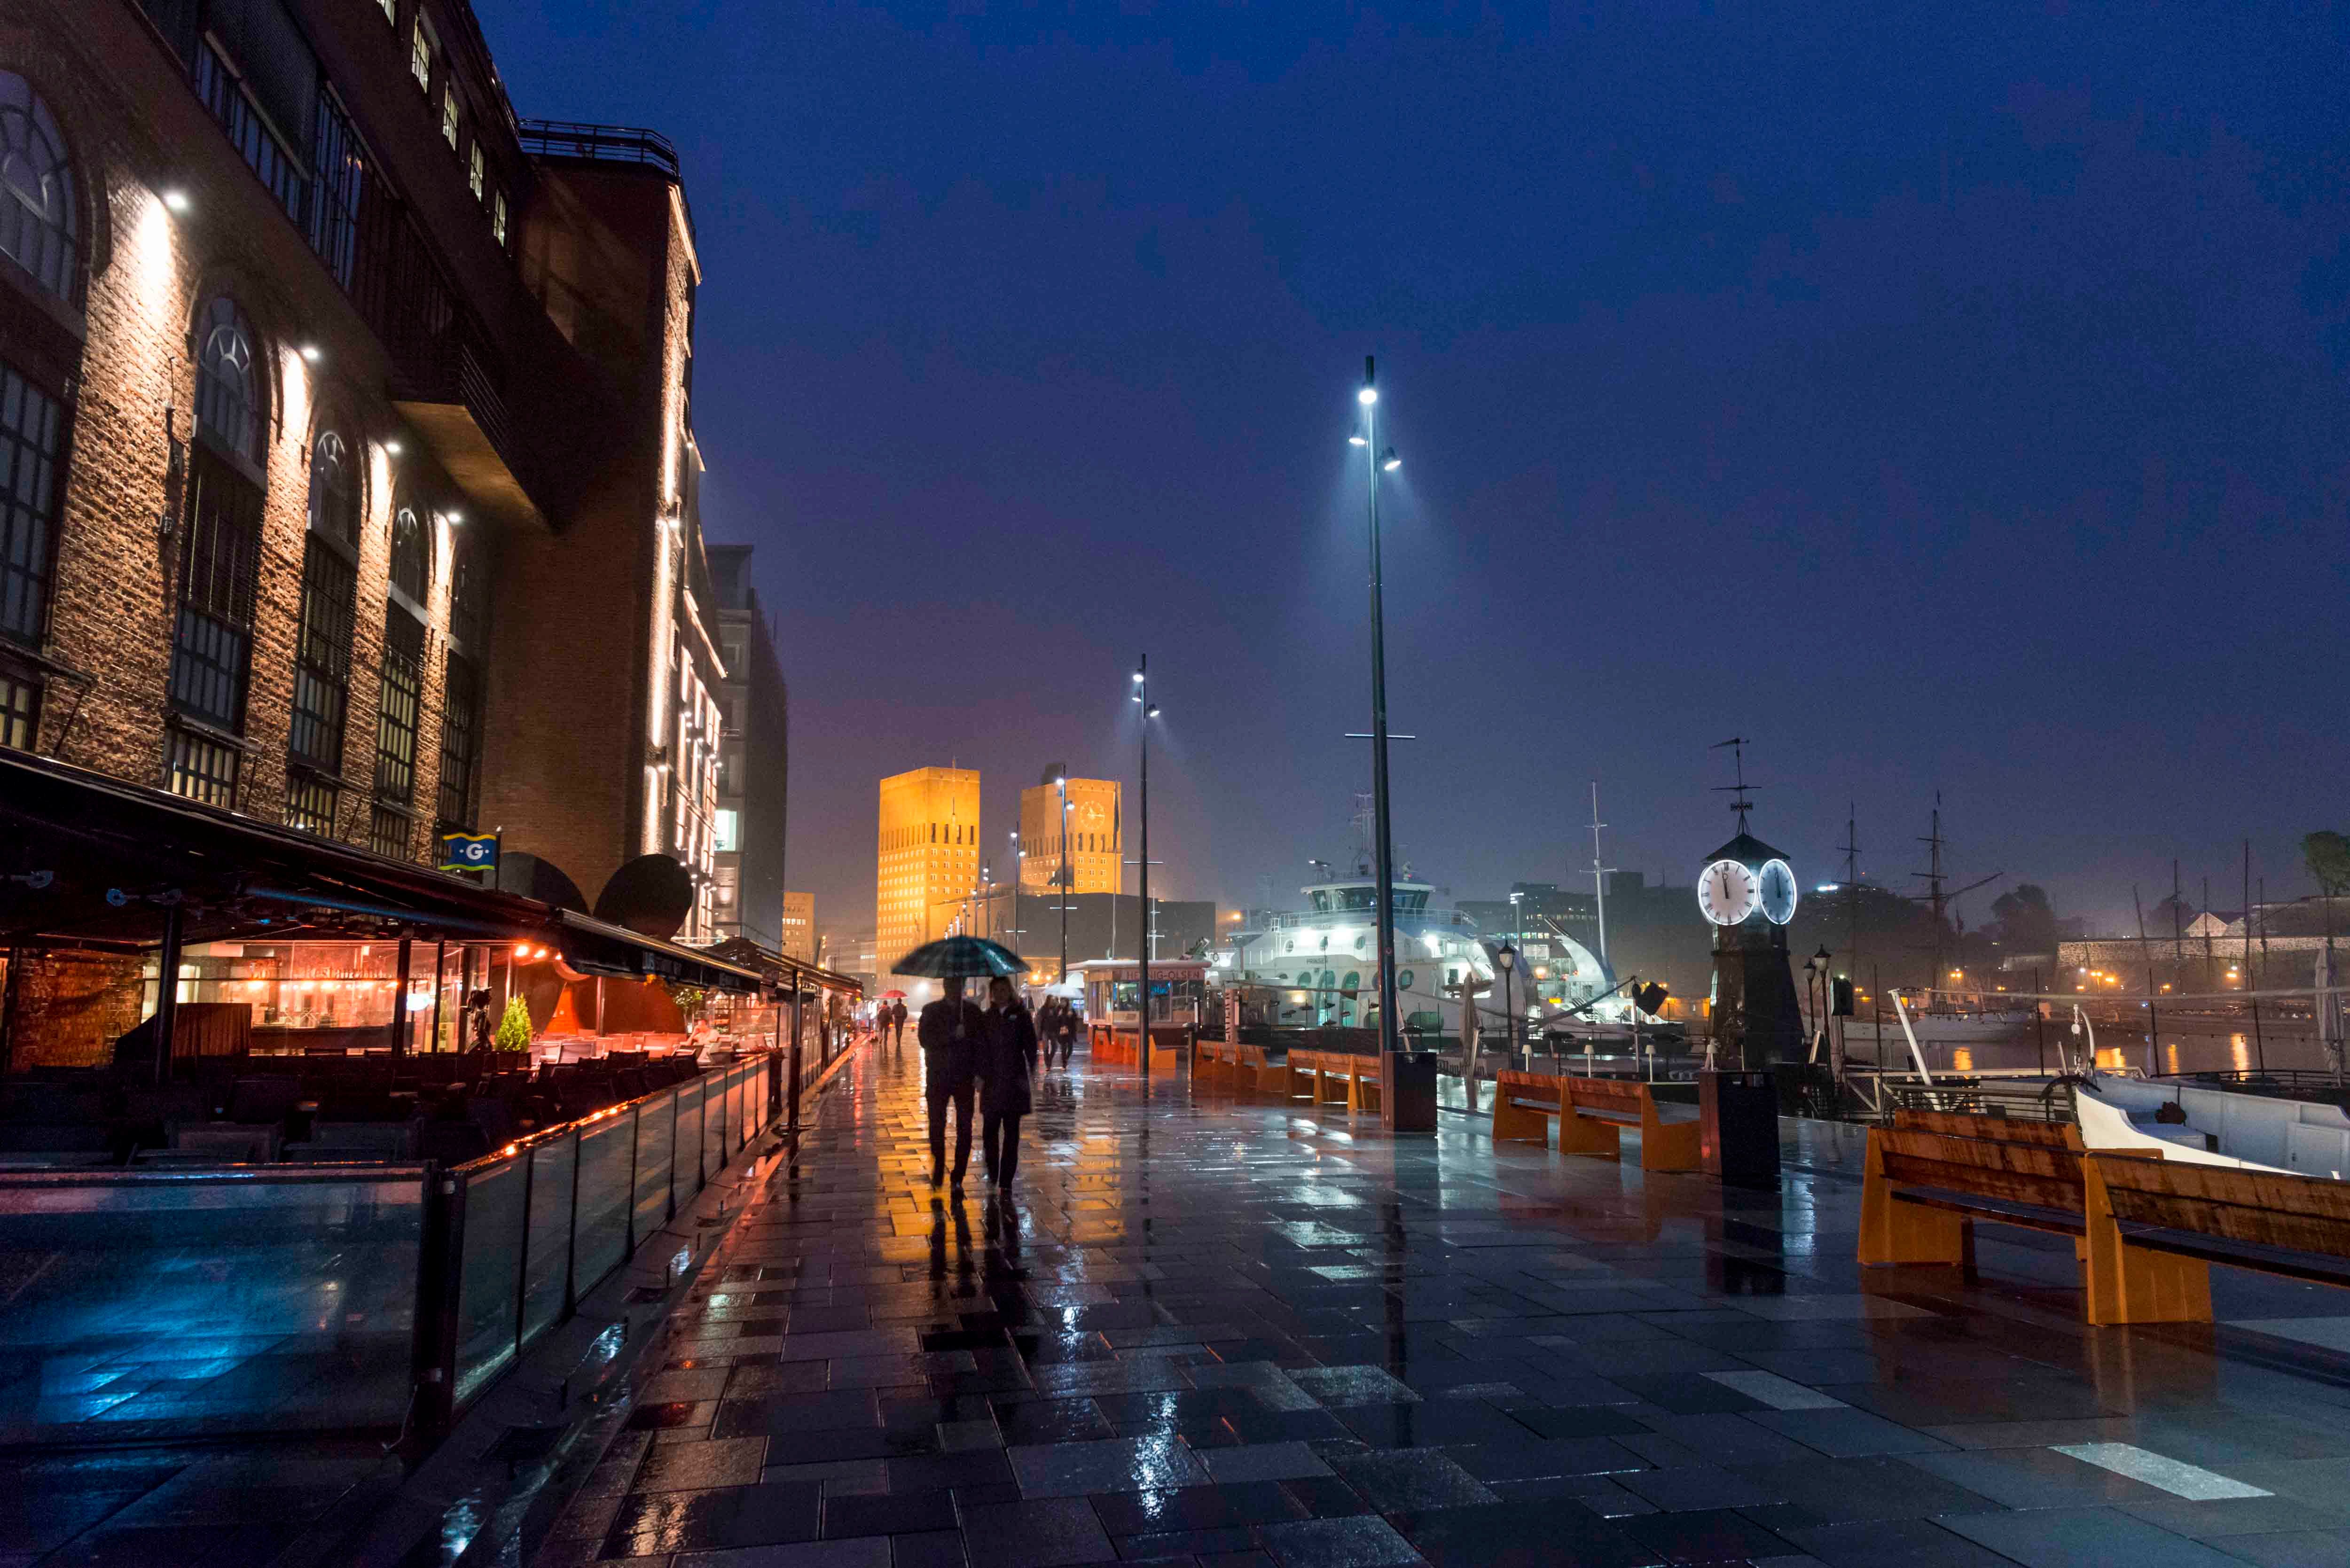
A rainy evening in Oslo, Norway ©
Diana Jarvis
Photographing the Milky Way follows the same principles as shooting light trails from vehicles. The only tricky thing is finding somewhere dark enough, without light pollution. Great places for this are Dark Sky locations. There are a number around the world, which can be located with this mapping tool.
Because of the earth’s rotation, the stars will appear as if they’re moving, so you don’t want an exposure any longer than about 30 seconds otherwise they’ll begin to look blurry.

The Milky Way as seen from Paradise Valley in Morocco ©
Diana Jarvis
Unlike blue hour photography, the aurora borealis is only visible when all daylight has truly gone and the night sky is pitch black. The rule of thumb here is to crank the ISO up as high as it will go, let as much light in with a wide-open aperture (even as low as f/2.8 will work nicely) and a shutter speed of anywhere between 3–15 seconds depending on how much movement there is in the aurora. Often, what you capture with your camera will look different to what you’re seeing; because you’re capturing the intensity of light, it will look greener in the picture.
If you're really keen to get good photos, consider booking a dedicated trip to photograph the Northern Lights with expert photo tuition and no daytime distractions.
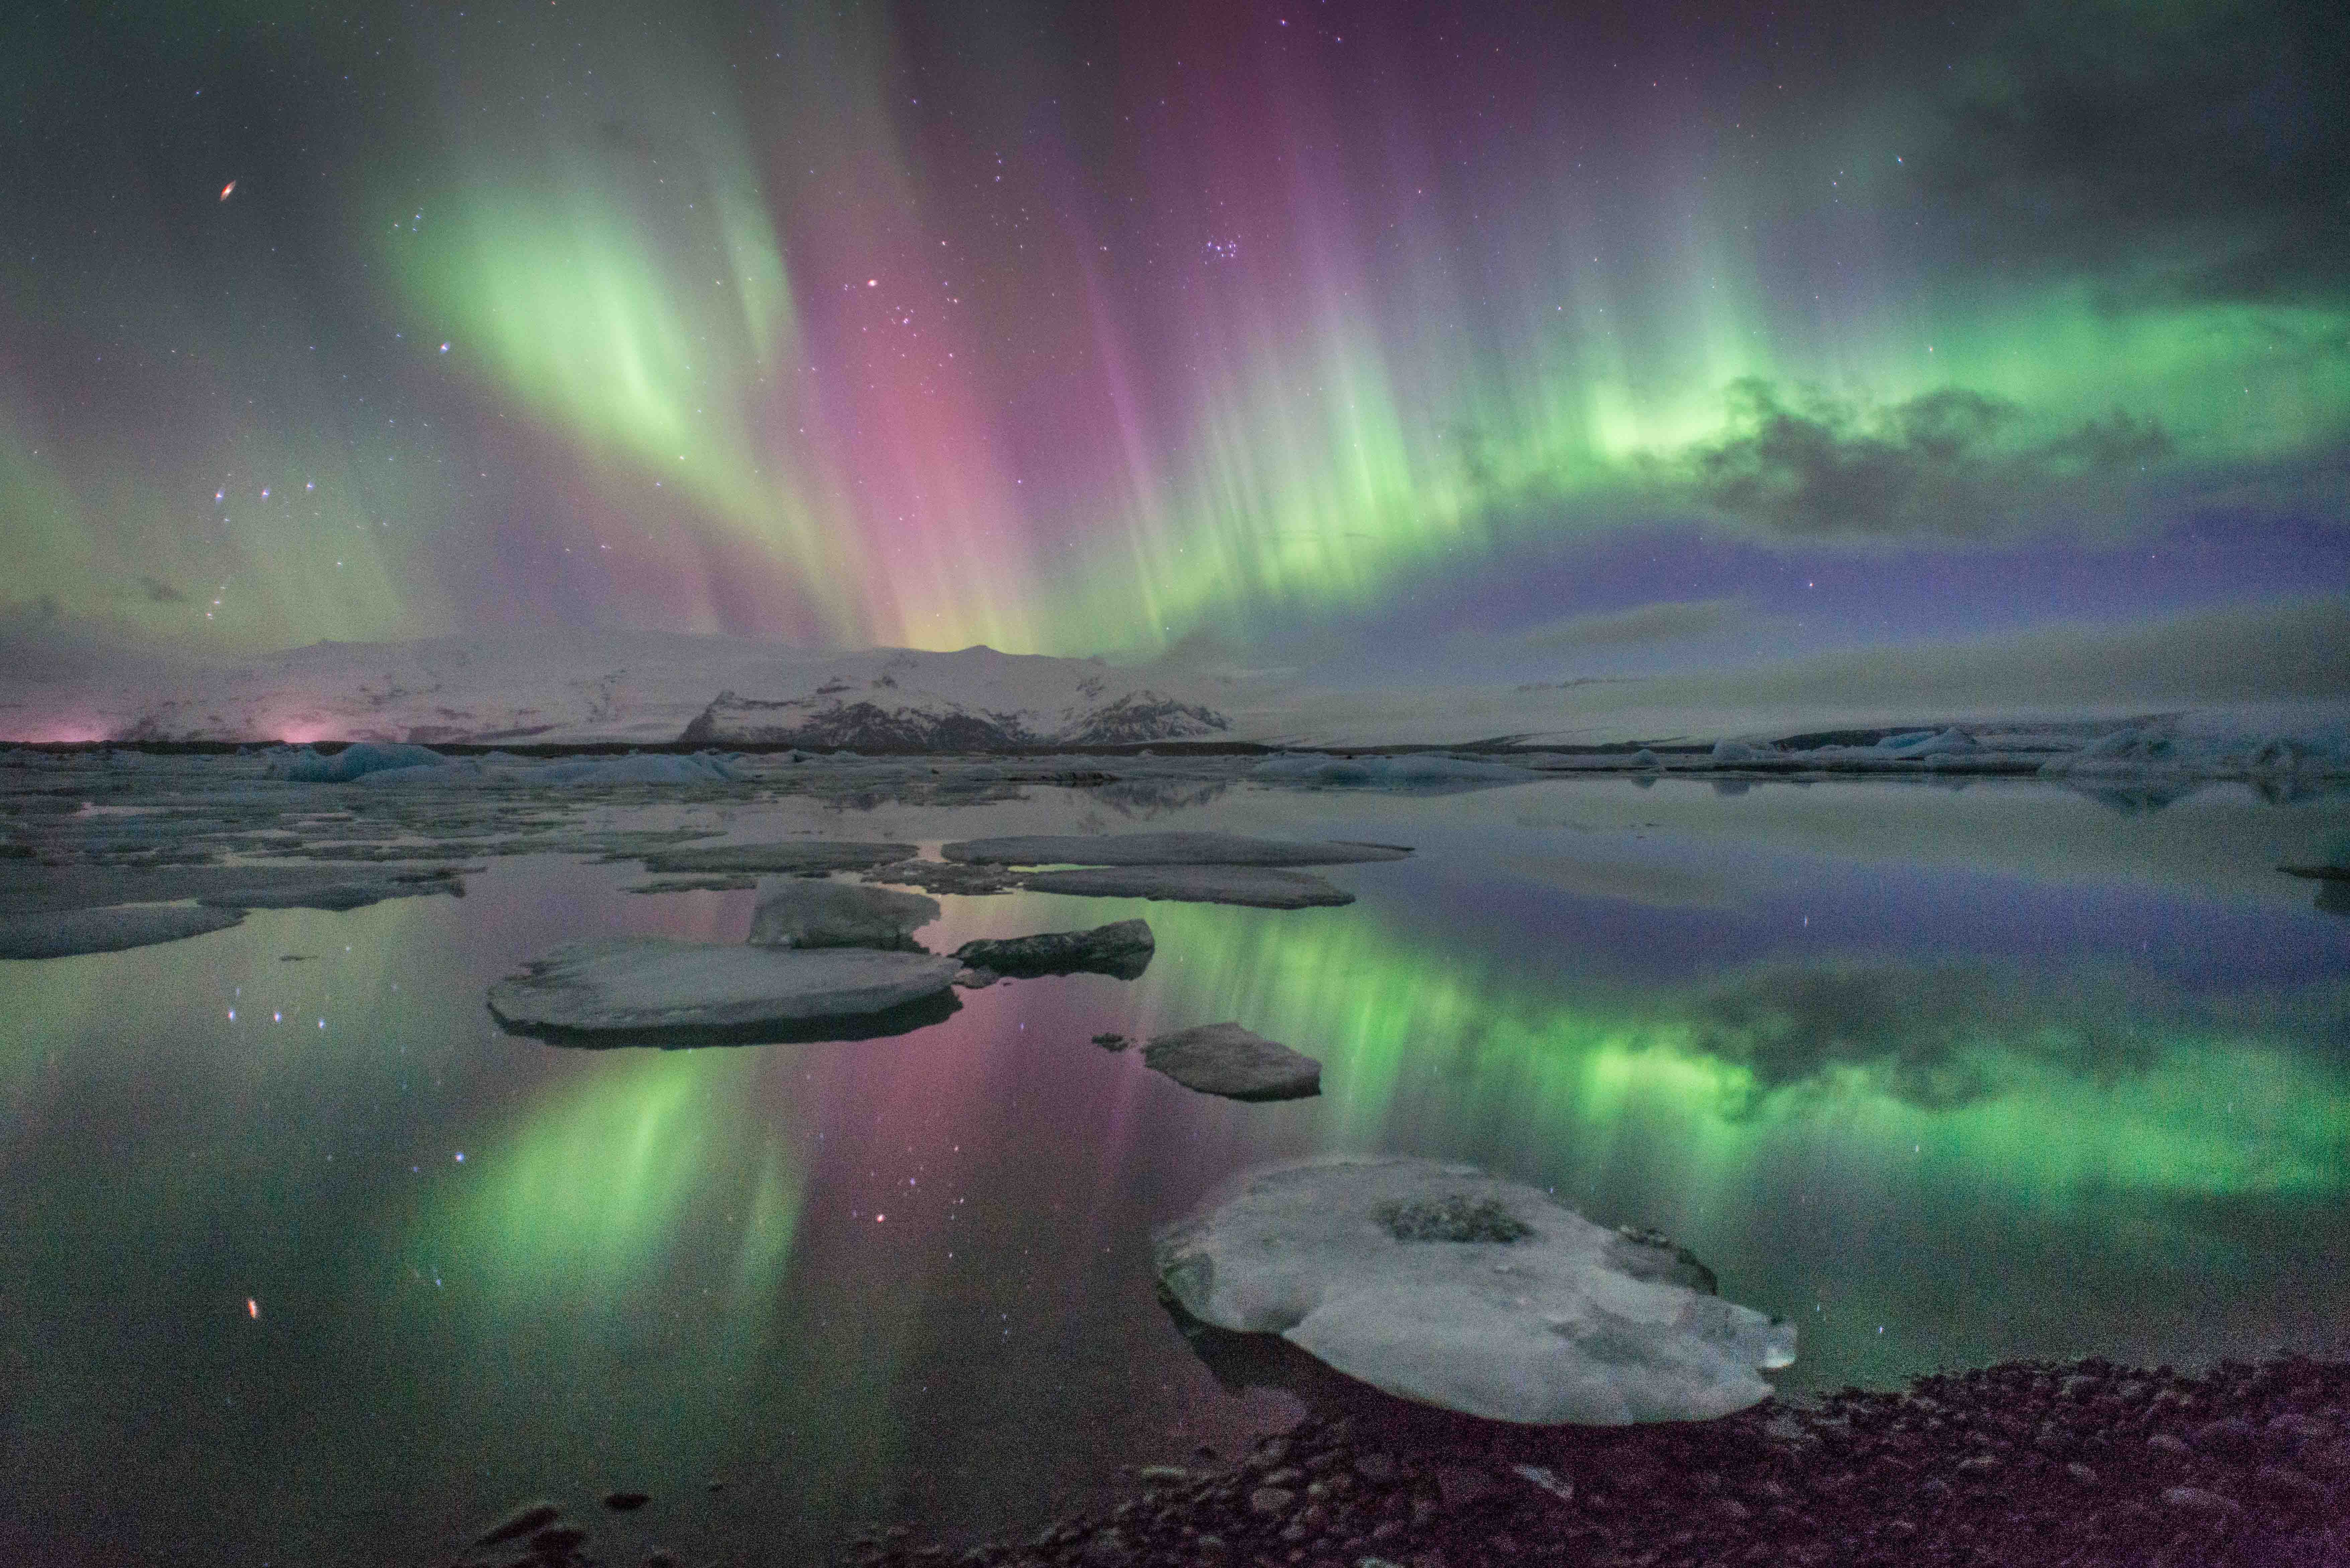
The Northern Lights over the Jokulsarlon lake, Iceland ©
Diana Jarvis
written by
Diana Jarvis
updated 07.11.2020
Diana is a photographer and writer based in Margate, Kent. She has shot ten guidebooks for Rough Guides and undertaken numerous commissions for Visit England, National Geographic Traveller (UK), GreenTraveller and Cool Camping, among others. She is currently the editor of Eye for the Light a subscription-only, digital publication in association with Travel Photographer of the Year and is also the Publishing and Photography Director at the British Guild of Travel Writers. Follow her on Instagram and Twitter.
Use Rough Guides' trusted partners for great rates
Arrange your trip, hassle-free, with local travel experts
Arrange your trip with local travel experts